
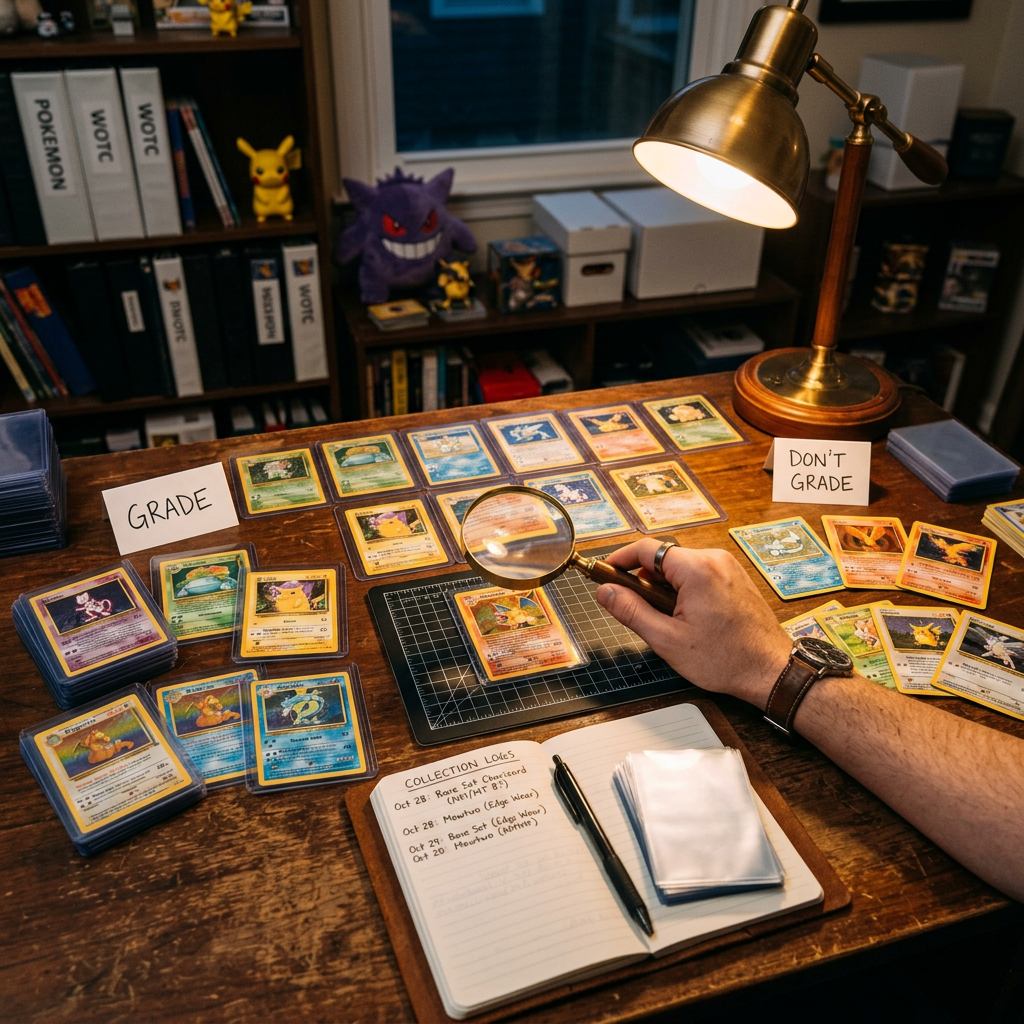
Updated May 2026. If you collect Pokémon cards seriously, pre-grading is the single best habit you can build to avoid wasting grading fees. Before spending $25–$100+ on submission, shipping, and waiting 4–12 weeks for a result, you want a realistic sense of whether a Base Set Charizard, Pikachu alt art, or chase holofoil is actually a strong grading candidate.
That is exactly what pre-grading is. It is not official grading — it is a systematic way to filter weak submissions, identify strong candidates, and make smarter PSA, BGS, SGC, CGC, ACE, and TAG submission decisions from your collection.
This guide walks through the exact four-step checklist that serious collectors use before committing cards to submission.
What does pre-grading mean?
Pre-grading means inspecting a card yourself before sending it to a grading company.
It is not official grading, and it is not a guarantee of the final result. It is simply a way to make smarter submission decisions.
The four main things to check
When collectors pre-grade cards, they usually look at:
- Centering
- Corners
- Edges
- Surface
These are the four main condition areas most collectors talk about when trying to estimate grading potential.
1. Check centering first
Centering is one of the best places to start because it is the clearest mathematically measurable part of grading.
Look at:
- Left vs right border balance
- Top vs bottom border balance
If the card is obviously off-center, that may already tell you it is a weaker top-grade candidate.
For a deeper look at how to measure centering, see our guide on how to check card centering.
2. Check the corners
Look closely for:
- Whitening
- Softness
- Dings
- Bends
- Wear
Corners often look fine from a distance but show issues under stronger inspection.
3. Check the edges
Inspect the edges for:
- Chipping
- Rough cuts
- Silvering
- Whitening
- Small nicks
Edges can quietly drag a card down, especially when the rest looks clean at first glance.
4. Check the surface
This is often the hardest part.
Look for:
- Scratches
- Print lines
- Dents
- Marks
- Stains
- Foil issues
Surface problems can be easy to miss without good lighting.
Ask the key question
After checking all four areas, ask yourself:
If I pay to grade this card, is the likely outcome worth the cost?
That is the real heart of pre-grading.
If you are not sure how to answer that, our guide on should I grade this card covers the full decision-making process.
Why centering matters so much
Out of all four areas, centering is the one that gives collectors the most objective information before submission.
That is why it is such a strong first filter.
If a card already looks weak on centering, that may save you from wasting time and money before you even get into the rest of the card.
How CardCenter fits into pre-grading
CardCenter was built to support this exact stage of the process.
It helps collectors understand centering more clearly before grading, so they can make better decisions about which cards are worth sending off.
It does not replace the full grading process, but it gives you a stronger foundation before you spend money. Using a card centering tool as your first step can make the whole pre-grading process faster and more reliable.
Frequently asked questions
A careful at-home pre-grade gets you within roughly one grade of the final result for most cards, especially if you use good lighting, a loupe or magnifier, and an objective centering tool. The biggest variable is usually surface — small print lines and scratches are easy to miss without strong angled light.
At minimum, a bright desk lamp, a 10x jeweller's loupe or magnifier, a clean matte surface, and a centering tool. Optional but useful: a soft microfibre cloth, a UV torch for spotting surface flaws, and a smartphone camera for centering analysis.
You can do a rough first check through a sleeve, but for a real pre-grade, take the card out. Sleeves hide light scratches, edge wear, and centering issues. Always do your final pre-grade inspection raw.
Centering and surface are the two biggest culprits. Surface scratches and print lines are the easiest to miss at home, while centering is the easiest to measure objectively. A combination of weak centering and one small surface flaw is the classic PSA 9 outcome.
A proper pre-grade takes 2–5 minutes per card once you have a routine. That covers centering analysis, corner inspection under magnification, edge check, and surface review under angled light. Faster than that and you are probably missing flaws.
The pre-grading workflow for Pokémon cards
Here is the complete sequence most serious collectors follow:
Step 1: Photograph and measure centering — Use a Pokémon card centering tool to get an objective measurement. Takes 30 seconds per card. If centering is outside 55/45 on the front, the card is already a weaker candidate — move on or note it as a PSA 9 candidate instead of a 10.
Step 2: Inspect under bright light — Use a desk lamp or natural daylight plus a 10x jeweller's loupe. Check corners first (the easiest to damage), then edges, then surface. Takes 2–3 minutes.
Step 3: Ask the economic question — If the card grades to what you expect, does the upside justify the fee? A $30 raw card that grades to a $60 PSA 9 probably does not pencil out. A $500 Charizard that has 55/45 centering and clean condition might grade PSA 10 and sell for $1,500+.
Step 4: Decide and commit or skip — No maybes. Either submit the card or don't. The indecision is often a sign that pre-grading was not thorough enough.
Why this matters in 2026
Grading fees have climbed steadily, and turn times have stretched. A weak submission to PSA or BGS is now genuinely expensive — $25–$100 per card, plus $20–$30 shipping both ways, plus 6–12 weeks of waiting for a grade that might be PSA 8 instead of the hoped-for 10.
That changed the math. In 2016, grading fees were lower and turn times were faster, so the risk calculation was different. In 2026, pre-grading is not optional — it is the difference between a smart collector and one who bleeds money on mediocre submissions.
Collectors who filter ruthlessly submit 20–30 cards per year and hit a 70%+ rate of PSA 10 or higher. Collectors who submit blindly submit 100+ cards per year and hit 30–40% on top grades. The difference? Pre-grading discipline.
Final thoughts
Pre-grading Pokémon cards at home is not about being perfect. It is about being ruthlessly selective and more informed.
If you can spot stronger candidates before submission, you can:
- Avoid weak submissions
- Save grading fees ($thousands per year)
- Improve your success rate (70%+ vs 30%)
- Make better collecting and selling decisions
- Build a stronger collection of high-grade copies
That is exactly why pre-grading matters. Start with centering (the easiest filter), then inspect the rest. Move confidently or skip. Grading fees are not free — treat them like the investment they are.
Ready to start? Use the free Pokémon card centering tool on your next stack of cards. It's the fastest first filter, and it takes 30 seconds per card.